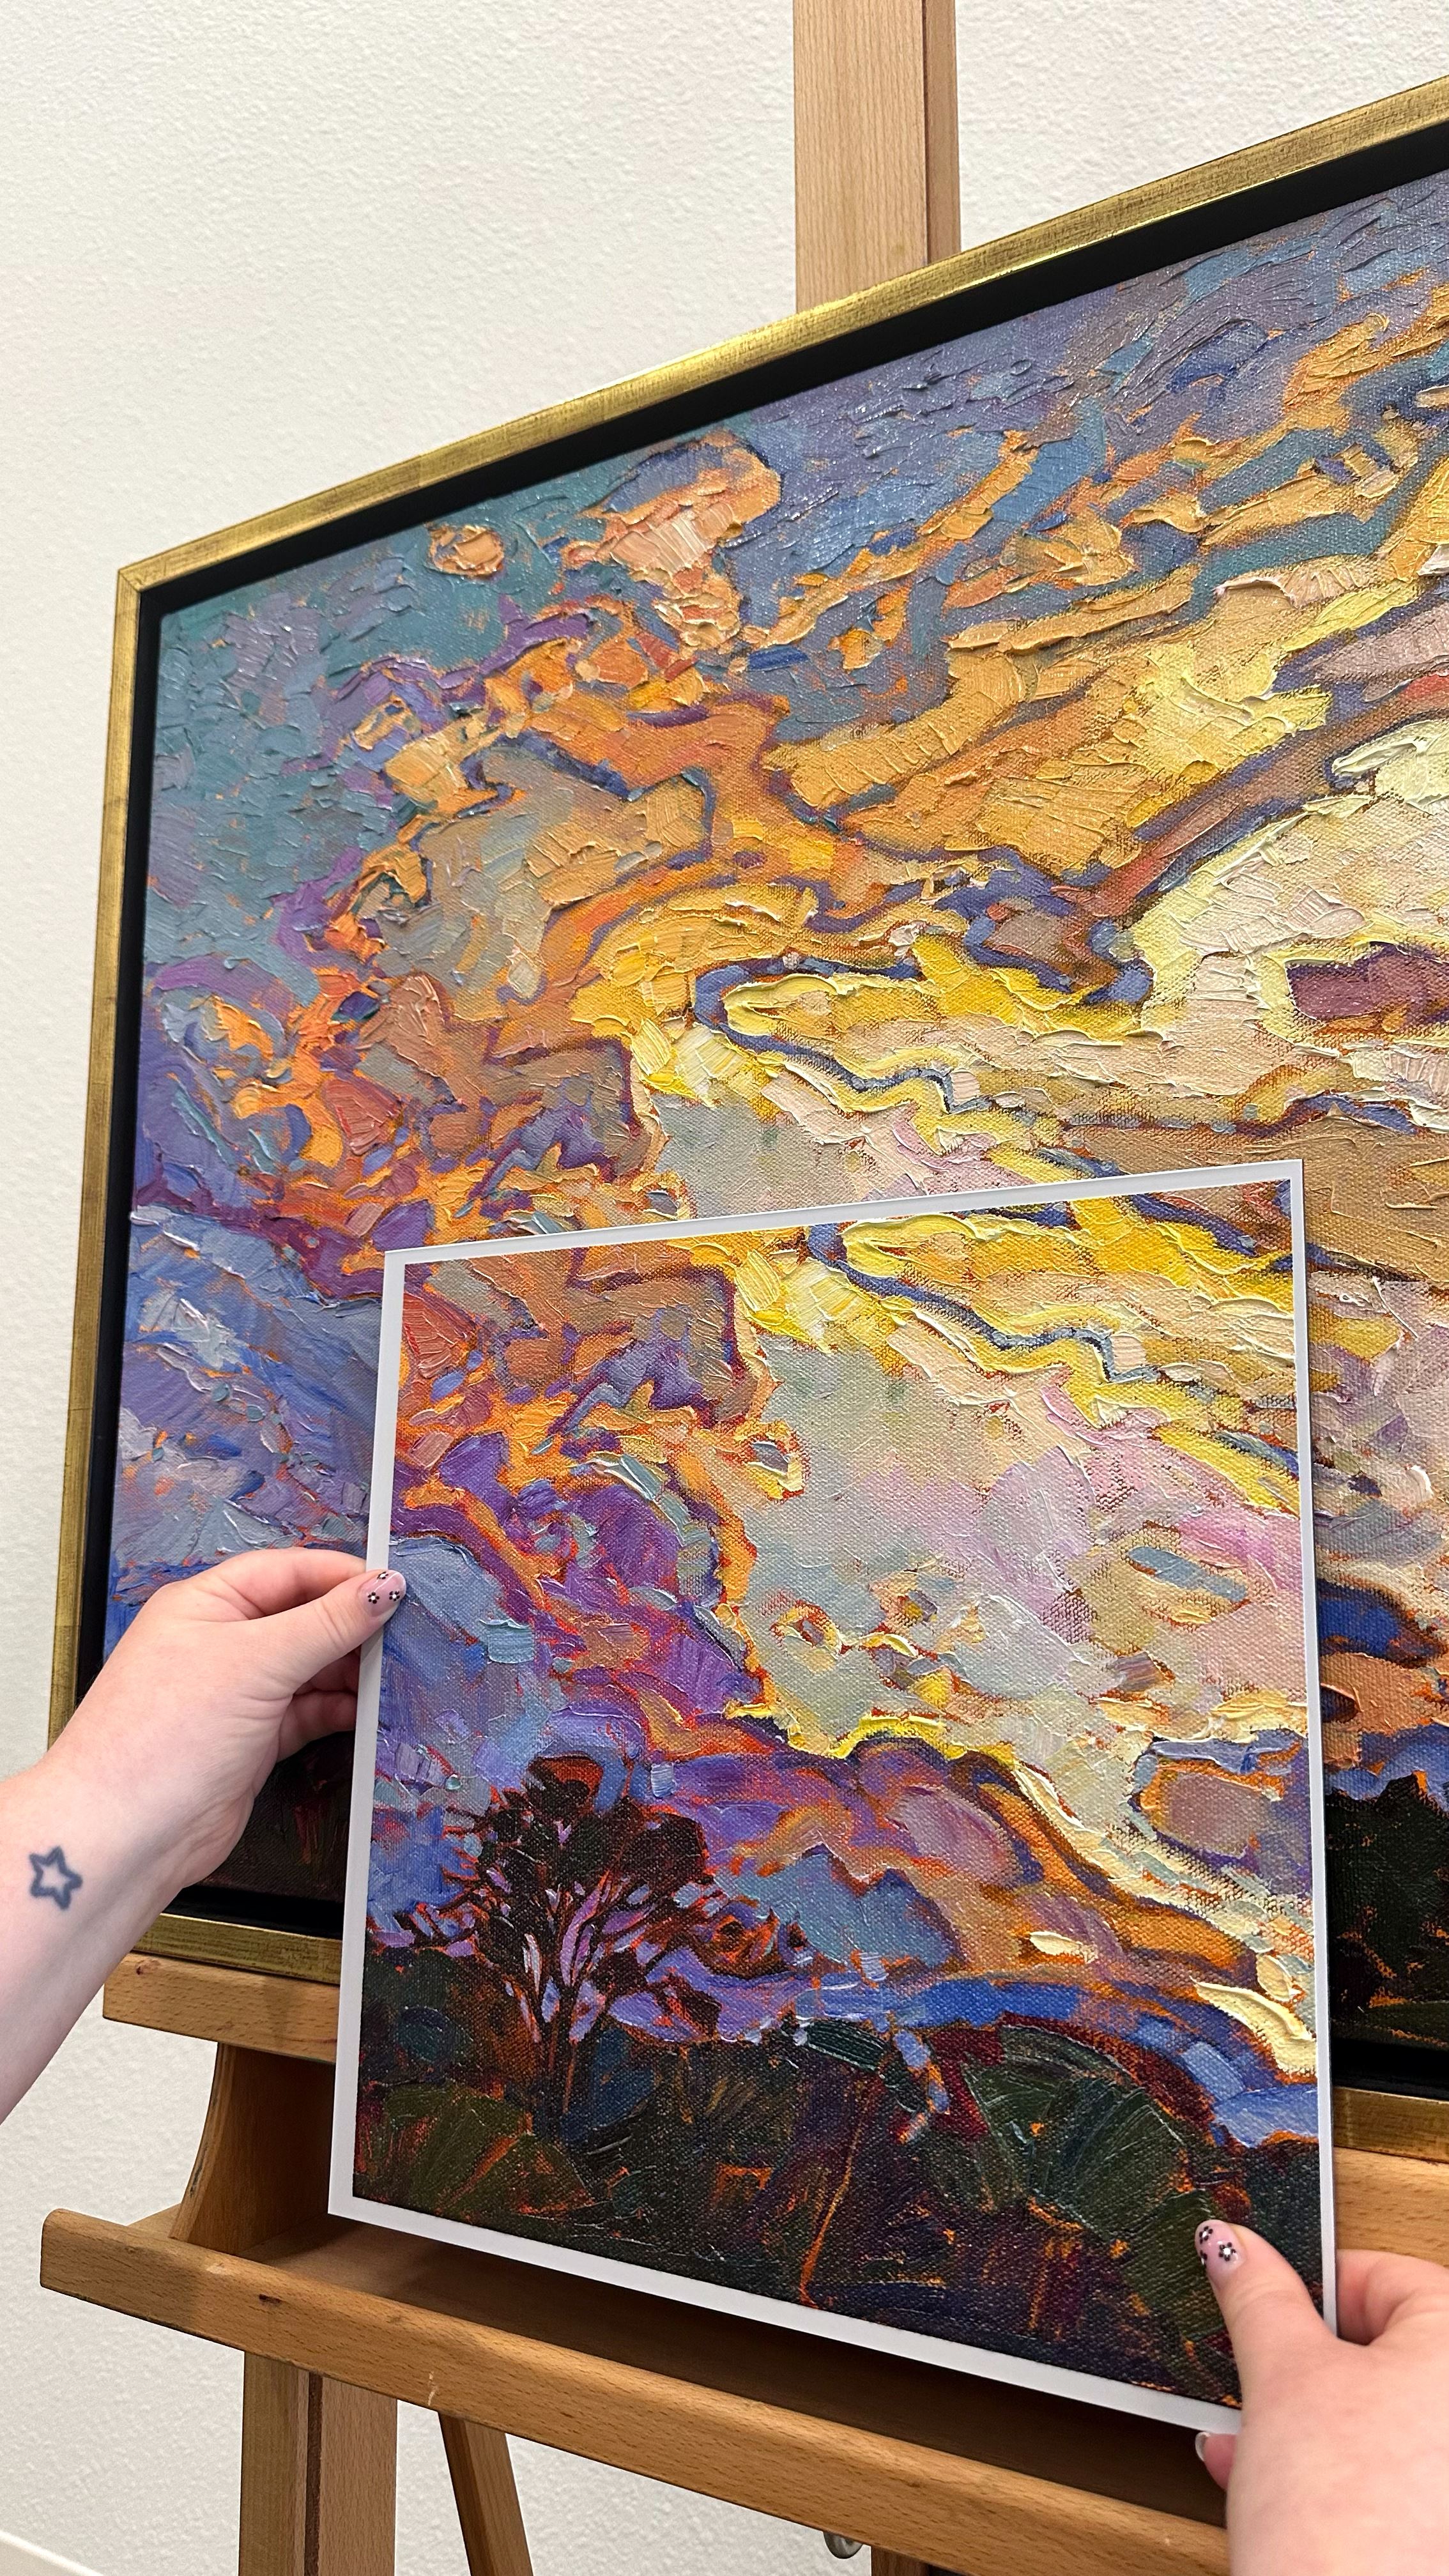
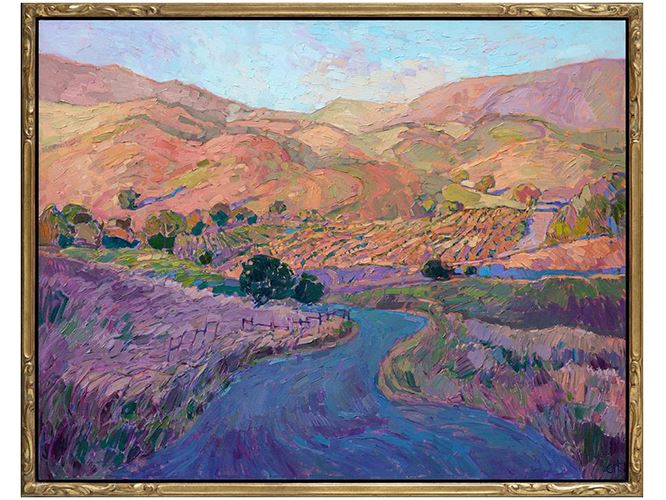
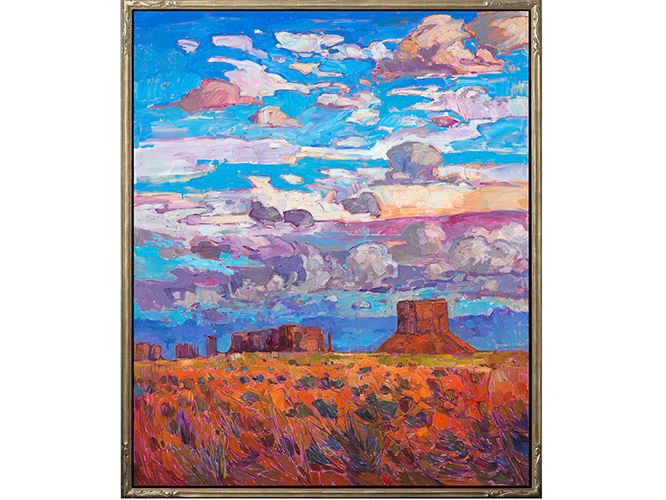
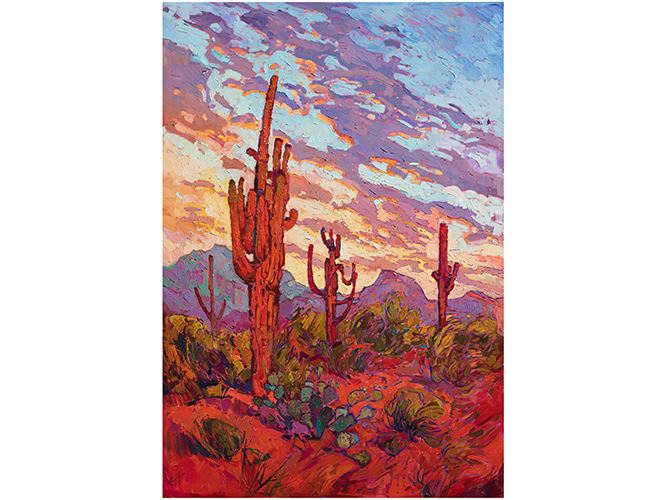
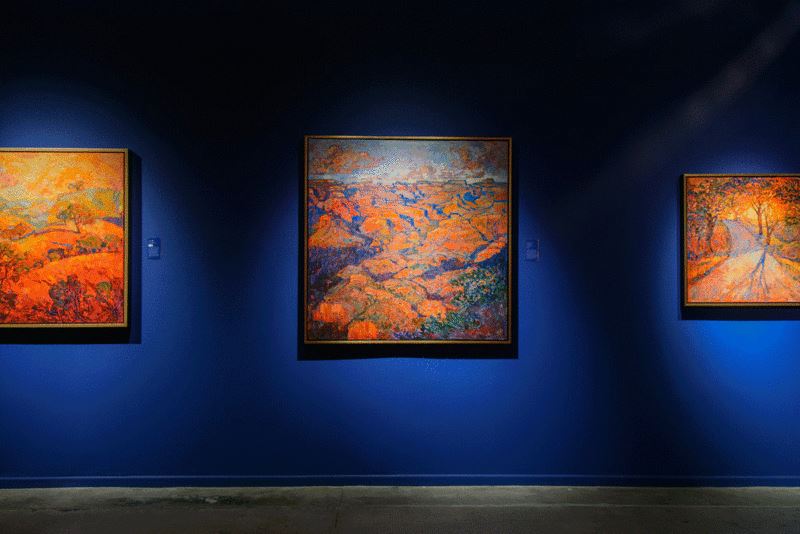
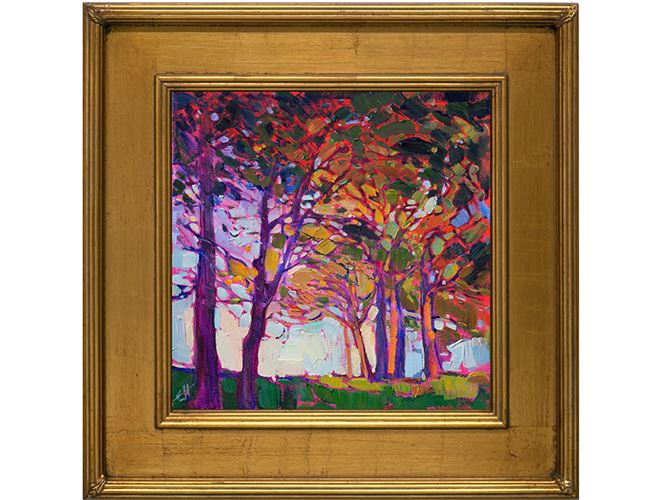
How to Properly Conserve & UV Protect Your Oil Painting
A step-by-step guide for properly conserving and UV protecting your oil painting.
Wednesday, September 20, 2023
It has been two years or more since you purchased your oil painting. You want to protect it from UV rays and other damage, but you aren’t quite sure how to properly conserve your artwork.
Does this sound like you?
If so, you are in luck! Erin Hanson has created a step-by-step guide for properly conserving and UV protecting your oil painting.
How to Properly Conserve & UV Protect Your Oil Painting from Erin Hanson on Vimeo.
Retouching Varnish at The Erin Hanson Gallery
Before we get started on your painting, here is a brief introduction to the varnish that is likely already on your artwork.
How The Erin Hanson Gallery uses retouching varnish to protect paintings:
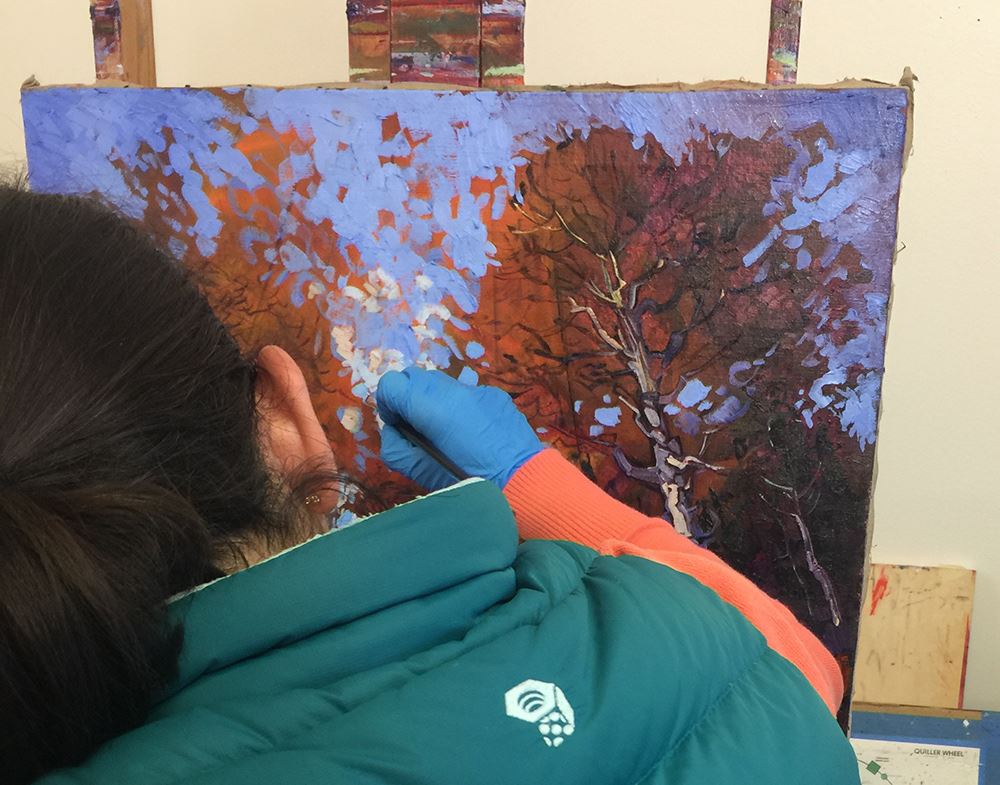
Step One: When Erin finishes a painting, she leaves it to dry for 6-8 weeks.
Step Two: After the painting is dry to the touch, we apply a retouching varnish. The varnish we use is called Winsor & Newton Oil Colour Artists’ Retouching Varnish. This is a temporary varnish that gives the painting an even sheen as well as a layer of scuff protection. It has the additional benefit of allowing the oil painting to cure underneath a layer of protective varnish.
If you feel this varnish is sufficient and have an Erin Hanson oil painting, congratulations! You don't need to do anything further. If you are concerned about the painting's exposure to UV rays, keep reading and learn how to apply conservation varnish with added UV protection to your artwork.
Note: Even if you are satisfied with the varnish already applied to your painting, you may enjoy reading on to find oil painting cleaning instructions. We also bust a list of cleaning myths. Just read on to find out more.
Applying A Finishing Varnish
This section will show you how to clean a painting and apply a finishing varnish.
Because Erin's paintings have very thick paint, it's best to wait at least two years before applying a finishing varnish. A finishing varnish is not required to protect a painting, but Erin recently found a conservation varnish used in art museums that provides UV protection for the artwork. The varnish she uses in the video is called Rublev Colours Conservar, Finishing Varnish, Regalrez Gloss Varnish with UV Stabilizer.
Erin explains in the video that this is “like putting a pair of sunglasses over the artwork.”
It's not necessary to apply this conservation varnish. But if your home gets a lot of sunlight, applying a layer of this varnish may be a good idea.
Cleaning Your Painting
The very first step is to clean your painting. Before we get started with the proper cleaning instructions, we want to do some myth-busting about cleaning oil paintings that you may have seen on the internet.
Myth: Many different items can be used to clean a painting.
Fact: The only items you should use to clean a painting are a very soft, clean brush and damp, latex-free makeup sponges or Q-tips that have been thoroughly rinsed in deionized water.
Items you should NEVER use to clean an oil painting include:
Microfiber cloths: Microfiber cloths will snag on the painting and may rip off paint pieces.
Paper towels: Paper towels will also snag, leaving bits of the paper behind.
Cleaning solvents: Do not use cleaning solvents, including Windex or vinegar. They will damage the oil paint.
Potatoes: A surprising number of blogs suggest that you use potatoes to clean an oil painting. We checked with museum conservationists, and they said this was not a good idea. There are chemicals in the potatoes that will eat away at the painting.
A weird thing you can use to assist as you clean your painting is saliva. In a pinch, you can use saliva to get a small piece of dirt or food off your painting. We verified this with an art conservationist. Who knew?
Now that we have the myth-busting out of the way, it's time to clean your painting.
What You Will Need to Clean Your Painting
-Latex-free makeup sponges
-Q-tips (also latex-free)
-Deionized water
-A soft, clean paintbrush (Erin uses a 2” (50 mm) Raphaël Softacryl brush)
How to Clean Your Painting
Step One: Select an upright and secure spot to varnish.
Set your painting in an upright position. It must be vertical when varnishing, and placing it in this position now will allow gravity to assist you as you dust.
The painting could be hanging on a wall or leaning against the wall and supported on a soft mat – like a bathmat or a foam pad. You want to ensure it is secure and will not move while you are working on it.
Step Two: Set up your cleaning space.
Take latex-free makeup sponges or Q-tips and dip them in deionized water. Squeeze the sponge/Q-tip in the water several times to remove any chemicals. The water will likely become cloudy.
Place your paintbrush within easy reach. In the video, Erin uses a 2” (50 mm) Raphaël Softacryl brush to dust the painting. It doesn’t have to be this brush, but it must be very soft and clean.
Step Three: Dust the painting.
Now that you have your tools together, the first thing to do is dust the painting using your soft, clean paintbrush. Remove any dust to ensure the varnish traps no particles.
Step Four: Clean the painting.
Using a washed/damp Q-tip, dust along the inside of the floater frame or (if no floater frame) around any crevices or other challenging-to-reach areas as well as corners that could collect dust.
Use your Q-tip or makeup sponge to gently dab at any specks of dirt, food, or other debris. You don't need to worry about it if it doesn't easily come off. Just clean the painting as best as you can without damaging the paint.
Step Five: Wait.
Wait a few hours for the piece to fully dry. It’s clean and ready for conservation varnishing!
Tip: While waiting, rinse your brush and let it dry too. That way, you can use it for the varnishing step.
Varnishing Your Painting
What You Will Need to Varnish Your Painting
-Conservation varnish (Erin recommends Rublev Colours Conservar, Finishing Varnish, Regalrez Gloss Varnish with UV Stabilizer)
-A soft, clean paintbrush (You can use your Softacryl brush; just make sure it's been wiped down or rinsed off and dried after your cleaning.)
-A plastic cup
-A paper towel
-Wax paper
-Plastic gloves
-A stable place to rest your tools
-Excellent air circulation
-Conditional: Painter's tape
How to Apply Conservation Varnish To Your Painting
Step Zero: Make sure your painting has sufficiently cured.
Ensure your painting has cured for at least two years before applying additional varnish. It is vital that the oil paints are sufficiently cured before you apply conservation varnish.
Step One: Get set up for varnishing.
As above, you want to place the painting in a stable, upright position. It can be hanging on a wall or leaning against the wall and supported on a soft mat. You want to ensure it is secure and will not move while you are working on it.
Open a window for air circulation and put on your gloves. Then, place all of your tools in one stable location. It's ideal to place them on a board, tarp, or painter's cloth in case of spills.
Set down wax paper to protect the frame. Most of Erin's paintings come in a floater frame, and you can place the wax paper between the art and the floater frame to keep the varnish from getting on the frame. Generally, you only need the wax paper tucked into the bottom of the frame. If your painting has a different frame type, you may need to apply painter's tape to ensure protection.
Placing the varnish in a container (Erin uses a plastic cup).
Keep a paper towel handy for cleaning any excess varnish from your brush.
Step Two: How to varnish.
a. Take the brush and dip just the end of the bristles into a shallow cup of varnish.
b. Tap off any excess varnish. You want the end of the bristles to be coated but not dripping.
c. Apply the varnish as evenly as possible. Erin starts from the top left-hand corner of the painting and continues over to the right corner, then down.
NOTE: Varnishing is hard to mess up. You don’t need to stress, just be patient and enjoy the process. The main thing you have to worry about is not splashing varnish onto the frame. So, slow and steady is key.
d. Be as systematic as possible. Erin looks at the painting from the side as she varnishes. This allows her to see the sheen and note where she has varnished and where she has not.
NOTE: If you are concerned that one area is not getting even or proper coverage, it is okay to go over the same spot several times. This will not hurt the painting.
e. As you cover the piece with varnish, you may see the varnish collecting on various ridges or paint strokes. Go ahead and use the brush to even out those spots.
You can also remove excess varnish by wiping your paintbrush with a paper towel and using the semi-dry brush to remove any drips or even out areas that look too wet.
Step Three: Let the varnish dry.
Drying time should be about 24 hours, depending on temperature and humidity. If you aren't sure it'll dry within that time, give it 48 hours.
Step Four: Clean up.
Once you have set your painting to dry, clean up the space. You can also use turpentine, mineral spirits, or similar brush cleaner to clean your brush.
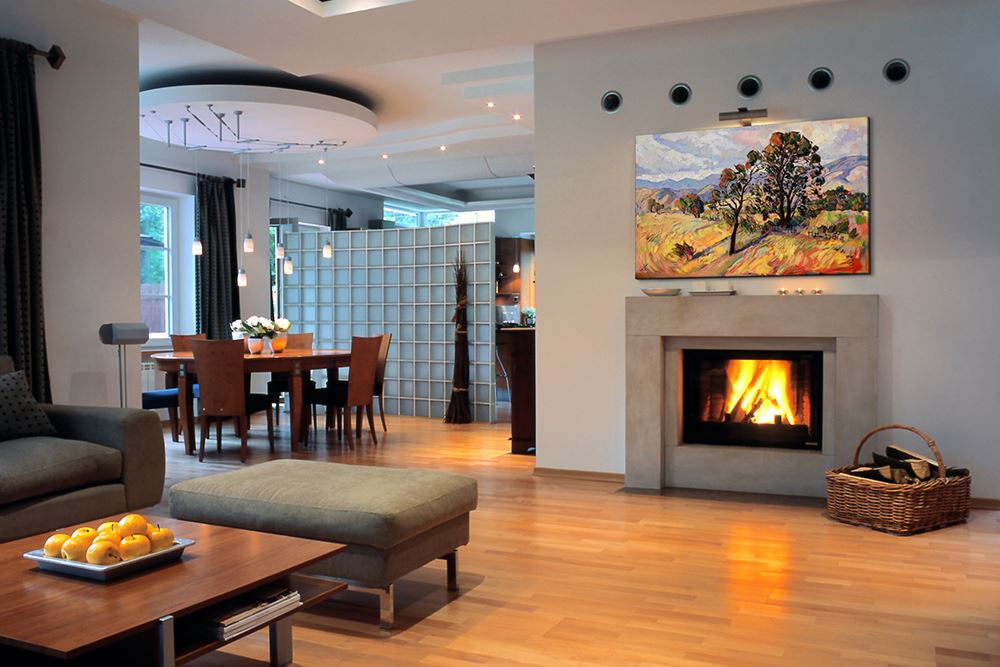
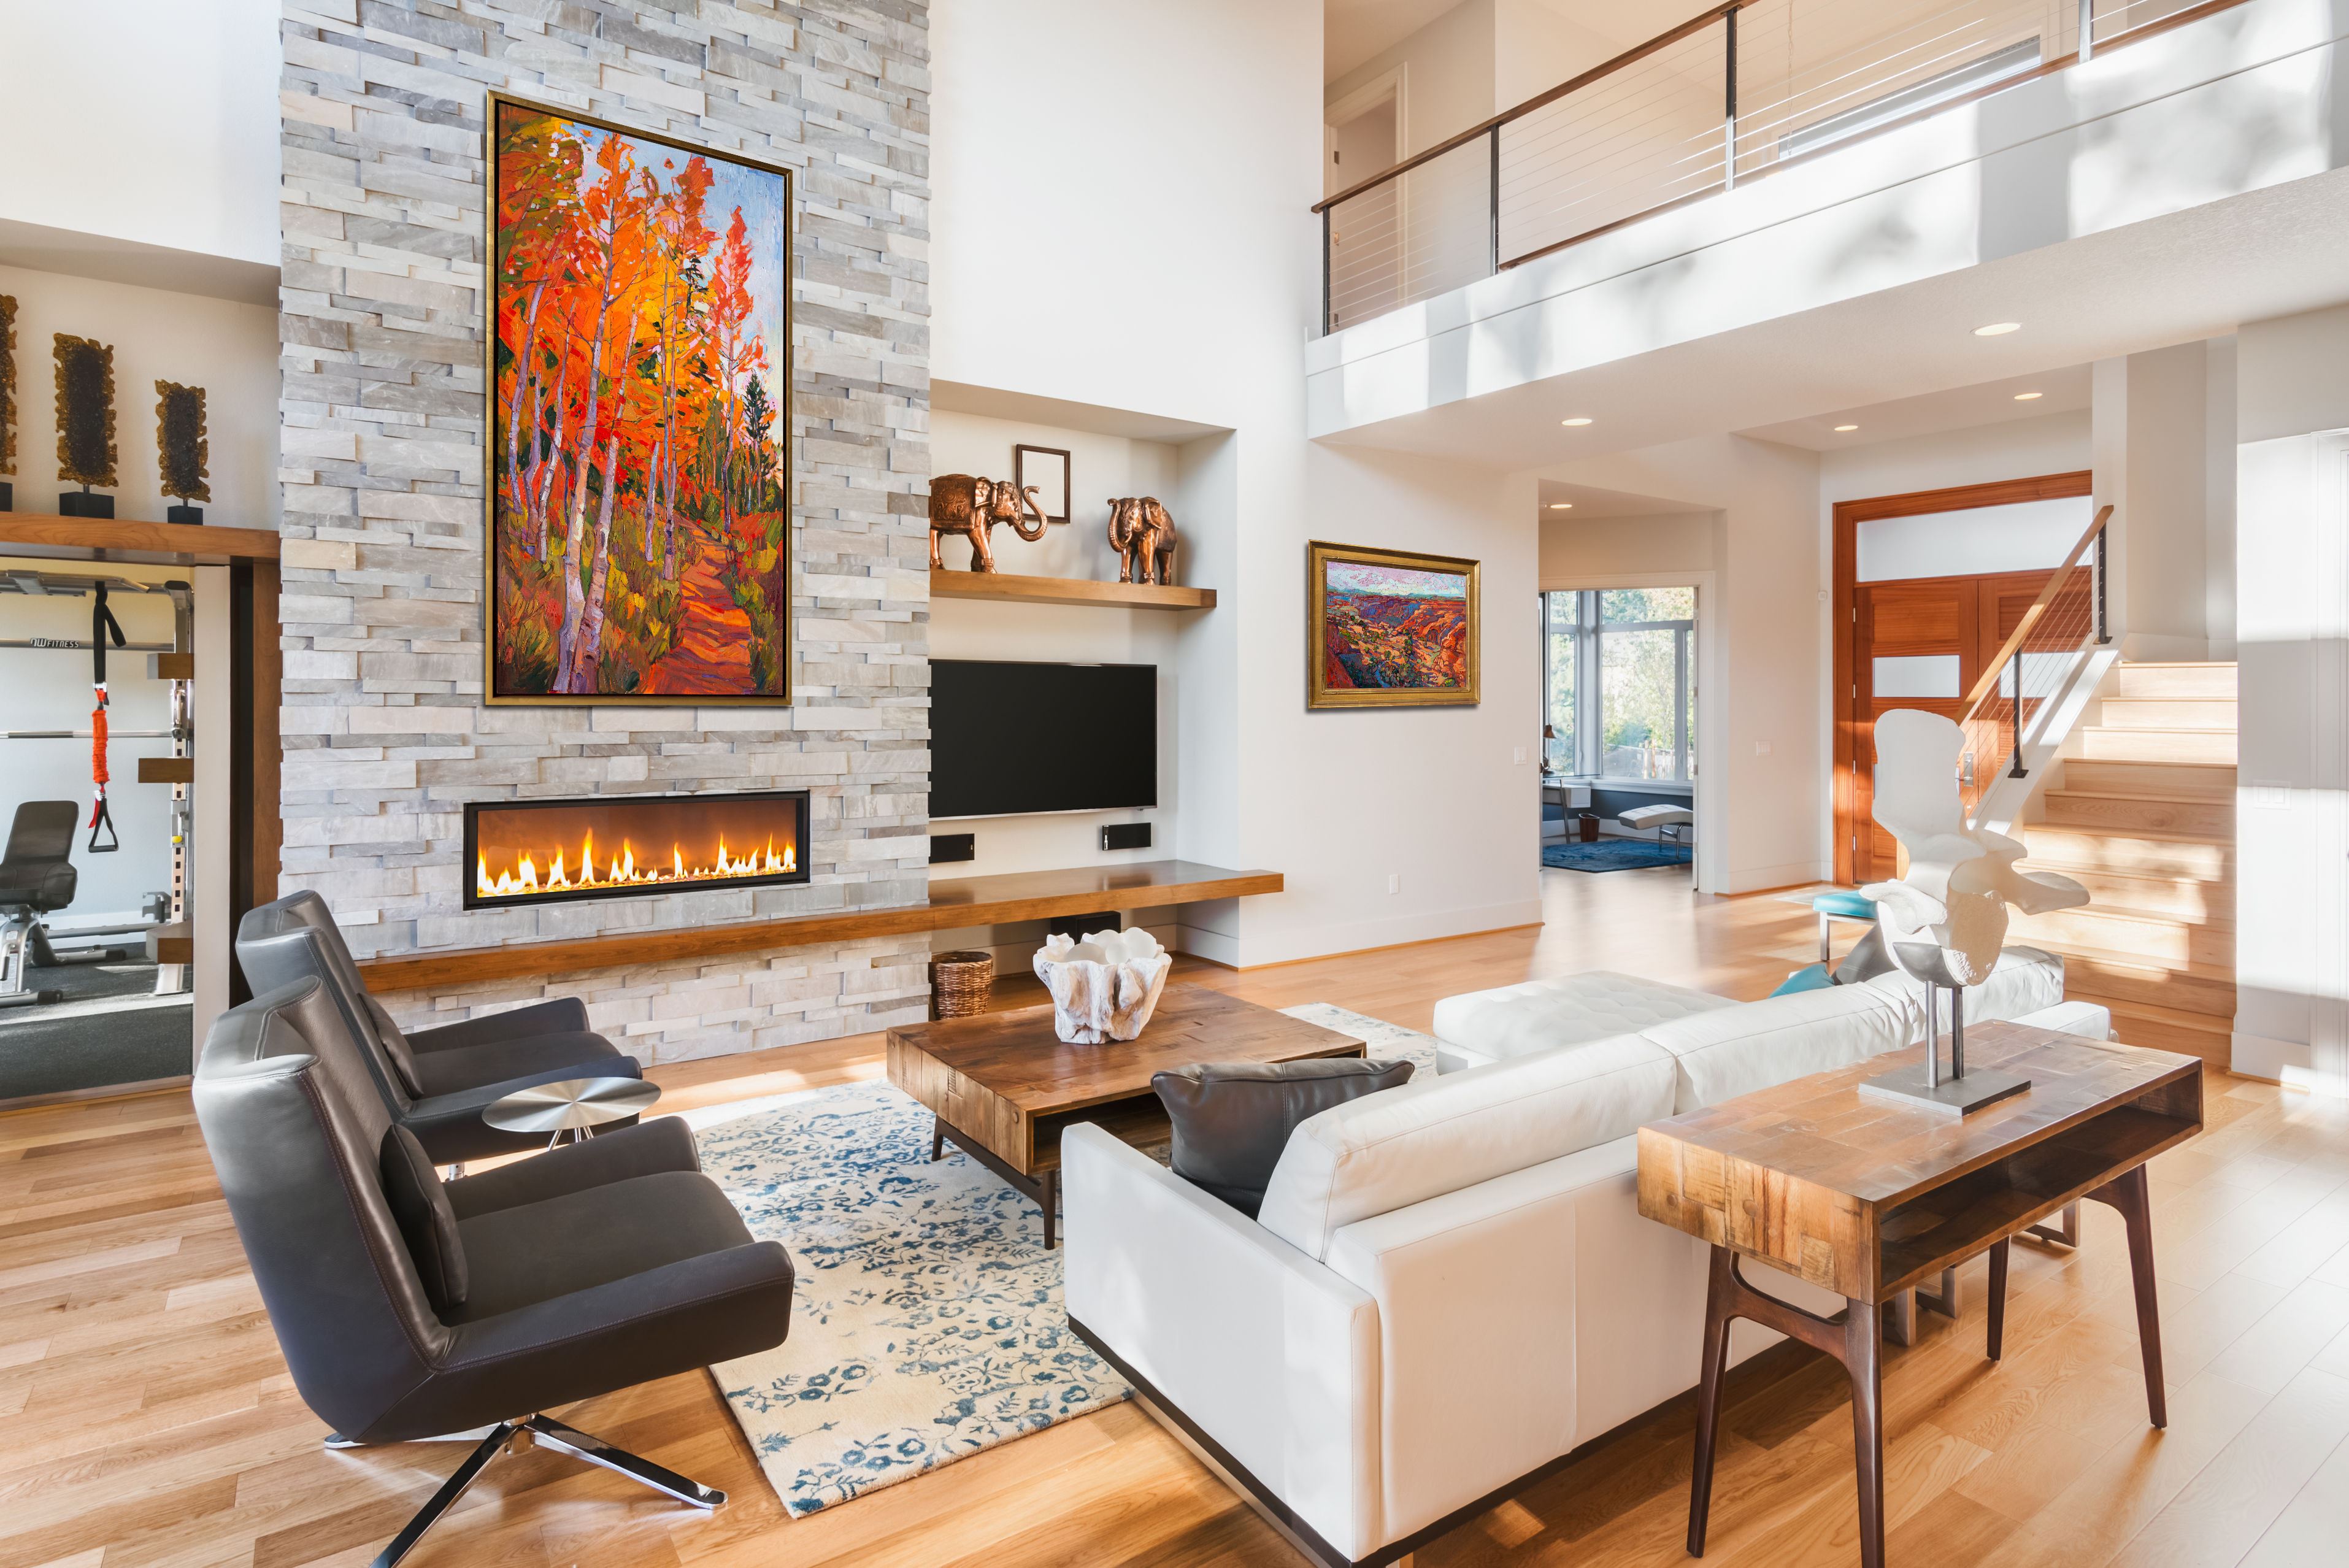
Now that your painting is cleaned and varnished with UV protection, hang it up and enjoy your artwork. We have an article with lighting recommendations called How to Light My Artwork that you can use to help you find the perfect lighting for your painting.
Enjoy the art!
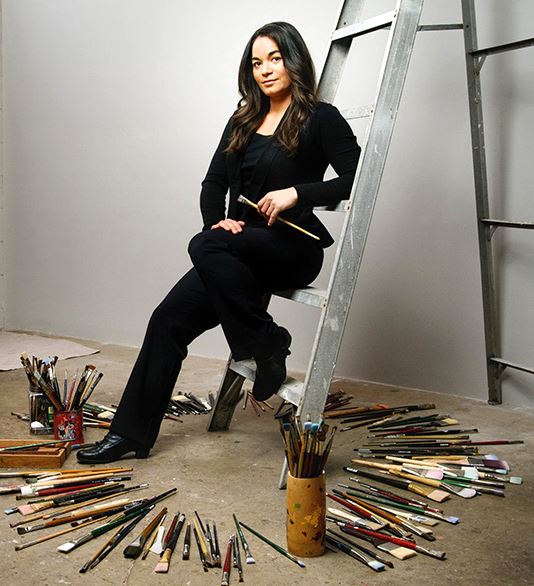
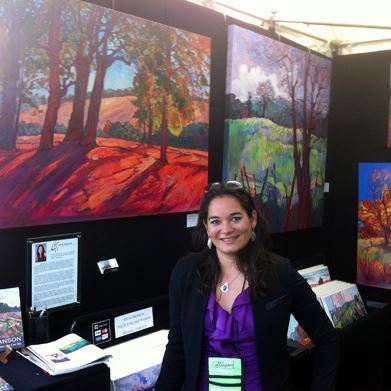
 ERIN HANSON has been painting in oils since she was 8 years old. As a young artist, she worked at a mural studio creating 40-foot-tall paintings on canvas, while selling art commissions on the side. After getting a degree in Bioengineering from UC Berkeley, Erin became a rock climber at Red Rock Canyon, Nevada. Inspired by the colorful scenery she was climbing, she decided to paint one painting every week for the rest of her life. She has stuck to that decision ever since, becoming one of the most prolific artists in history. Erin Hanson's style is known as "Open Impressionism" and is now taught in art schools worldwide. With thousands of collectors eagerly anticipating her work and millions of followers online, Hanson has become an iconic, driving force in the rebirth of contemporary impressionism.
|
How to Display Art on Your TVTurn any smart TV into beautiful art like the Samsun Frame TV!Tuesday, August 22, 2023One topic we commonly see addressed in videos, reels, and images across the internet is various answers to the burning question, “How do I make my Frame TV look like art?” Of course, the Samsung Frame TV is built to look like a piece of art, but that doesn’t mean you have to mount your frame TV or smart TV onto your wall and hope it will match your aesthetic forevermore. Here are five tips to make the art you display on your television look more like a framed painting or print. Read More → |
|
|
|
How to Display Art on Your TV Turn any smart TV into beautiful art like the Samsun Frame TV! Tuesday, August 22, 2023 One topic we commonly see addressed in videos, reels, and images across the internet is various answers to the burning question, “How do I make my Frame TV look like art?” Of course, the Samsung Frame TV is built to look like a piece of art, but that doesn’t mean you have to mount your frame TV or smart TV onto your wall and hope it will match your aesthetic forevermore. Here are five tips to make the art you display on your television look more like a framed painting or print. Read More → |
|
Art Appraisals and ValueThings You Should Know When Insuring Your ArtTuesday, July 11, 2023Beauty is subjective, and the value of a piece is often determined by answering the question, "How much will someone pay for the artwork?" However, the price you pay for a work of art does not usually satisfy insurers when trying to protect your art with an insurance policy. Read More → |
|
|
|
Art Appraisals and Value Things You Should Know When Insuring Your Art Tuesday, July 11, 2023 Beauty is subjective, and the value of a piece is often determined by answering the question, "How much will someone pay for the artwork?" However, the price you pay for a work of art does not usually satisfy insurers when trying to protect your art with an insurance policy. Read More → |
|
|
Should I Make an Offer for Original Artwork?Ten Best Practices for Negotiating Original Artwork PricesThursday, June 22, 2023Did you know that most art galleries and artists are open to considering offers? This fact will likely surprise many art enthusiasts because, of course, the artist has poured their heart and soul into their artwork - and it's difficult to ask someone for a discount who has put so much of themselves into their work. If you have fallen in love with a piece of art, but it's a bit out of your budget, galleries are very often more interested in helping you obtain the work and the making of an offer can, often, put the cards on the table and lead to a win / win arrangement. Read More → |
|
|
|
Should I Make an Offer for Original Artwork? Ten Best Practices for Negotiating Original Artwork Prices Thursday, June 22, 2023 Did you know that most art galleries and artists are open to considering offers? This fact will likely surprise many art enthusiasts because, of course, the artist has poured their heart and soul into their artwork - and it's difficult to ask someone for a discount who has put so much of themselves into their work. If you have fallen in love with a piece of art, but it's a bit out of your budget, galleries are very often more interested in helping you obtain the work and the making of an offer can, often, put the cards on the table and lead to a win / win arrangement. Read More → |
|
Answering the Question: Where Should I Hang My Oil Painting?And: "Where should I not hang my oil painting?"Tuesday, June 20, 2023Many collectors want to display their beautiful original oil paintings throughout their homes and offices. However, they also ask, "Where should I NOT hang my oil painting?" The answer to this question can get complicated quickly, so we thought we would dive right in and share the elements that make the perfect environment for your oil painting and where it's best to hang a replica or print - or where an oil painting might require added protection. Read More → |
|
|
|
Answering the Question: Where Should I Hang My Oil Painting? And: "Where should I not hang my oil painting?" Tuesday, June 20, 2023 Many collectors want to display their beautiful original oil paintings throughout their homes and offices. However, they also ask, "Where should I NOT hang my oil painting?" The answer to this question can get complicated quickly, so we thought we would dive right in and share the elements that make the perfect environment for your oil painting and where it's best to hang a replica or print - or where an oil painting might require added protection. Read More → |
|
Five Reasons Art Collectors Love 3D Textured ReplicasExplore affordable art replicas that look like the original paintingThursday, June 1, 2023Erin Hanson is one of the few artists worldwide to offer 3D textured replicas of her original paintings. While the 2D prints produced in The Erin Hanson Gallery workshop are so beautiful that they often get mistaken as original, Hanson wanted to offer collectors something more...something that replicates an original but is more affordable. Enter 3D textured replicas. Read More → |
|
|
|
Five Reasons Art Collectors Love 3D Textured Replicas Explore affordable art replicas that look like the original painting Thursday, June 1, 2023 Erin Hanson is one of the few artists worldwide to offer 3D textured replicas of her original paintings. While the 2D prints produced in The Erin Hanson Gallery workshop are so beautiful that they often get mistaken as original, Hanson wanted to offer collectors something more...something that replicates an original but is more affordable. Enter 3D textured replicas. Read More → |
|
How Does Color Influence Your Mood?Wednesday, March 3, 2021Erin Hanson, like many artists over the years, creates artwork in a varied palette. Each Hanson piece focuses on a particular landscape, viewed at a specific time of day. Often, these paintings focus on the play of light and shadow in natural spaces. The work can be as stark as the backlit oaks in her Crystal Light series or softer, as in a view of central California on a summer’s day Read More → |
|
|
|
How Does Color Influence Your Mood? Wednesday, March 3, 2021 Erin Hanson, like many artists over the years, creates artwork in a varied palette. Each Hanson piece focuses on a particular landscape, viewed at a specific time of day. Often, these paintings focus on the play of light and shadow in natural spaces. The work can be as stark as the backlit oaks in her Crystal Light series or softer, as in a view of central California on a summer’s day Read More → |
|
What Color Wall Looks Best with My Painting?Thursday, January 14, 2021I want to share with you my experience with using colored accent walls to set off a piece of artwork. Most homes are painted in neutral off-white or pale beige like in the picture above. I want to show you what happens when you paint the wall behind the painting (or the whole room) in a different color, in order to make the room part of the artwork. Read More → |
|
|
|
What Color Wall Looks Best with My Painting? Thursday, January 14, 2021 I want to share with you my experience with using colored accent walls to set off a piece of artwork. Most homes are painted in neutral off-white or pale beige like in the picture above. I want to show you what happens when you paint the wall behind the painting (or the whole room) in a different color, in order to make the room part of the artwork. Read More → |
|
A Commission Steeped in Family HistoryTuesday, November 10, 2020As a teenager, my family was stationed overseas in Europe. We were able to trace our roots back to a small village in Switzerland named Steinen. We located our family crest carved into the posts of the town’s courthouse indicating our ancestors as one of the original founding families of the village many centuries earlier. Fifty years later, my wife and I traveled back to Switzerland in order for her to also experience the area and its intrinsic beauty. Read More → |
|
|
|
A Commission Steeped in Family History Tuesday, November 10, 2020 As a teenager, my family was stationed overseas in Europe. We were able to trace our roots back to a small village in Switzerland named Steinen. We located our family crest carved into the posts of the town’s courthouse indicating our ancestors as one of the original founding families of the village many centuries earlier. Fifty years later, my wife and I traveled back to Switzerland in order for her to also experience the area and its intrinsic beauty. Read More → |
.png)
|
Welcome to the World of 3D Art ReproductionAn Inside Look at the Technical Specifications and DetailsWednesday, September 30, 2020This incredible fine art print is Erin’s high-tech answer to the growing demand for textured prints. Each replica faithfully duplicates every brush stroke's color and feel, using cutting-edge, three-dimensional scanning technology and multi-layered printing to capture every aspect of the original painting. While previous articles have discussed the replicas themselves, we wanted to take this opportunity to share the technical details of Erin’s state-of-the-art reproductions. Read More → |
|
|
|
Welcome to the World of 3D Art Reproduction An Inside Look at the Technical Specifications and Details Wednesday, September 30, 2020 This incredible fine art print is Erin’s high-tech answer to the growing demand for textured prints. Each replica faithfully duplicates every brush stroke's color and feel, using cutting-edge, three-dimensional scanning technology and multi-layered printing to capture every aspect of the original painting. While previous articles have discussed the replicas themselves, we wanted to take this opportunity to share the technical details of Erin’s state-of-the-art reproductions. Read More → |
.png)
|
How Erin Hanson’s 3D Textured Replicas Are MadeBehind the ScenesThursday, September 24, 2020Erin Hanson has brought the latest in 3D printing to her custom, limited edition offerings. This new print is a textured replica created using micro-layered 3D modeling and 48-bit color to make the most realistic painting reproductions available today. How is this done? Read More → |
|
|
|
How Erin Hanson’s 3D Textured Replicas Are Made Behind the Scenes Thursday, September 24, 2020 Erin Hanson has brought the latest in 3D printing to her custom, limited edition offerings. This new print is a textured replica created using micro-layered 3D modeling and 48-bit color to make the most realistic painting reproductions available today. How is this done? Read More → |
|
How Does Copyright Work for Artwork?Copyright helps an artist retain ownership for his/her work.Friday, December 14, 2018Copyright is essential protection for artists. The fact that a piece of art is unique makes it valuable, so safeguarding that one-of-a-kind piece is vital to any artist who wants to make a living. Read More → |
|
|
|
How Does Copyright Work for Artwork? Copyright helps an artist retain ownership for his/her work. Friday, December 14, 2018 Copyright is essential protection for artists. The fact that a piece of art is unique makes it valuable, so safeguarding that one-of-a-kind piece is vital to any artist who wants to make a living. Read More → |
|
Purchasing PrintsWednesday, September 19, 2018Erin Hanson offers fine art prints directly to her fans and collectors, at www.erinhansonprints.com. Read More → |
|
|
|
Purchasing Prints Wednesday, September 19, 2018 Erin Hanson offers fine art prints directly to her fans and collectors, at www.erinhansonprints.com. Read More → |
|
Collecting Erin Hanson OriginalsInformation for art collectorsWednesday, August 22, 2018Learn about collecting Erin Hanson original oil paintings. Read More → |
|
|
|
Collecting Erin Hanson Originals Information for art collectors Wednesday, August 22, 2018 Learn about collecting Erin Hanson original oil paintings. Read More → |
|
How to Find Amazing Art Pieces OnlineHow do I find the paintings that speak to me?Monday, April 9, 2018Art hitherto hidden in galleries across the world is now at your fingertips and can be discovered from the comfort of your own home. With this ease of access, a global renaissance of the arts is occurring. You can find art everywhere online, from Etsy to an artist’s website to a post on Instagram. Read More → |
|
|
|
How to Find Amazing Art Pieces Online How do I find the paintings that speak to me? Monday, April 9, 2018 Art hitherto hidden in galleries across the world is now at your fingertips and can be discovered from the comfort of your own home. With this ease of access, a global renaissance of the arts is occurring. You can find art everywhere online, from Etsy to an artist’s website to a post on Instagram. Read More → |
|
What is Resale Royalty?Resale royalty right or “droit de suite”Saturday, March 24, 2018While resale royalty right is not universal in America, the state of California implemented the Resale Royalty Act (CRRA) in 1976. This states that a 5% royalty applies to artworks worth over $1,000 that are resold for a gain. Read More → |
|
|
|
What is Resale Royalty? Resale royalty right or “droit de suite” Saturday, March 24, 2018 While resale royalty right is not universal in America, the state of California implemented the Resale Royalty Act (CRRA) in 1976. This states that a 5% royalty applies to artworks worth over $1,000 that are resold for a gain. Read More → |

|
Enjoy the World and Art in the New Year!Spend the New Year Engaging with ArtSunday, December 31, 2017Art can bring so much joy to the viewer; it can quench a thirst in one’s soul like few other things in the world. However, it takes some time and energy to engage with a piece, whether it be a painting, a statue, a photograph, or some other type of art. Read More → |
|
|
|
Enjoy the World and Art in the New Year! Spend the New Year Engaging with Art Sunday, December 31, 2017 Art can bring so much joy to the viewer; it can quench a thirst in one’s soul like few other things in the world. However, it takes some time and energy to engage with a piece, whether it be a painting, a statue, a photograph, or some other type of art. Read More → |
|
How to Show Off Your Art When HostingOffering a "How to" as you share your art with friends and familyThursday, December 14, 2017Displaying your favorite pieces when you are hosting your friends or family in your home can become a large part of your impromptu gathering or scheduled dinner party. Many art collectors curate their pieces, displaying them throughout their homes in the spots that provide the highest impact and which allow them to see pieces as they get ready for work in the morning or relax at home after supper. Read More → |
|
|
|
How to Show Off Your Art When Hosting Offering a "How to" as you share your art with friends and family Thursday, December 14, 2017 Displaying your favorite pieces when you are hosting your friends or family in your home can become a large part of your impromptu gathering or scheduled dinner party. Many art collectors curate their pieces, displaying them throughout their homes in the spots that provide the highest impact and which allow them to see pieces as they get ready for work in the morning or relax at home after supper. Read More → |
|
How to Clean My Original ArtworkFriday, November 24, 2017One common question we get asked at The Erin Hanson Gallery is “how do I clean my painting?” This is a vital piece of knowledge that every art collector should have in his or her repertoire. Whether you are a serious or casual collector, it’s important to know how to care for the pieces you cherish. Read More → |
|
|
|
How to Clean My Original Artwork Friday, November 24, 2017 One common question we get asked at The Erin Hanson Gallery is “how do I clean my painting?” This is a vital piece of knowledge that every art collector should have in his or her repertoire. Whether you are a serious or casual collector, it’s important to know how to care for the pieces you cherish. Read More → |
|
Five Tips for Finding the Right Gift for the Art Lover in Your LifeThursday, October 26, 2017Finding holiday gifts or birthday presents for an art lover who seems to “have it all” can be intimidating. You want to give a loved one a thoughtful gift that shows you’ve been paying attention but doesn’t completely break the bank. You also want to find the perfect gift of art that they will find uniquely beautiful. Since art and beauty can be subjective, this last factor might be one of the most difficult. Read More → |
|
|
|
Five Tips for Finding the Right Gift for the Art Lover in Your Life Thursday, October 26, 2017 Finding holiday gifts or birthday presents for an art lover who seems to “have it all” can be intimidating. You want to give a loved one a thoughtful gift that shows you’ve been paying attention but doesn’t completely break the bank. You also want to find the perfect gift of art that they will find uniquely beautiful. Since art and beauty can be subjective, this last factor might be one of the most difficult. Read More → |
|
Framing OptionsFraming an Erin Hanson Original Oil PaintingThursday, October 12, 2017I have experimented with many framing options over the years: a decade ago I taught myself how to use a miter saw and joining tools, and I was making my own frames out of fine cherry wood molding. I have framed my work in simple floater frames, traditional plein air frames, and elaborate baroque frames. I have hung many paintings without any frame at all, letting the artistically-finished edges stand un-covered for a more contemporary look. Read More → |
|
|
|
Framing Options Framing an Erin Hanson Original Oil Painting Thursday, October 12, 2017 I have experimented with many framing options over the years: a decade ago I taught myself how to use a miter saw and joining tools, and I was making my own frames out of fine cherry wood molding. I have framed my work in simple floater frames, traditional plein air frames, and elaborate baroque frames. I have hung many paintings without any frame at all, letting the artistically-finished edges stand un-covered for a more contemporary look. Read More → |
|
What is an Open Impressionism Frame?Wednesday, May 31, 2017What are Open Impressionism frames? These hand-carved and gilded floater frames are a perfect bridge between the classic and the contemporary. Read More → |
|
|
|
What is an Open Impressionism Frame? Wednesday, May 31, 2017 What are Open Impressionism frames? These hand-carved and gilded floater frames are a perfect bridge between the classic and the contemporary. Read More → |
|
How to Commission a Painting - ExampleFriday, April 14, 2017Erin Hanson demonstrates the step-by-step process of commissioning a painting from an artist. Learn how to commission a painting to match the colors and style of your home. Read More → |
|
|
|
How to Commission a Painting - Example Friday, April 14, 2017 Erin Hanson demonstrates the step-by-step process of commissioning a painting from an artist. Learn how to commission a painting to match the colors and style of your home. Read More → |
|
How to Commission a Painting - ExampleTuesday, March 14, 2017Erin paints over an antique floral painting from WW2-era, transforming it into a new commemorative painting of a sacred Colorado camp. Read More → |
|
|
|
How to Commission a Painting - Example Tuesday, March 14, 2017 Erin paints over an antique floral painting from WW2-era, transforming it into a new commemorative painting of a sacred Colorado camp. Read More → |
|
Your Guide to Art Collecting Part 1How Do I Start Collecting?Sunday, December 4, 2016While art collecting can feel like serious business, it is also a labor of love. You are building an intertwined series of artworks that show something about you, what you love, what catches your eye, and what evokes emotion within you. Collecting art isn’t about telling someone else’s story, it’s about sharing pieces that connect with you – and connect with each other. This may sound like a lot of work, and it is, but having a cohesive art collection is a beautiful way to display your passion for art to the world. Read More → |
|
|
|
Your Guide to Art Collecting Part 1 How Do I Start Collecting? Sunday, December 4, 2016 While art collecting can feel like serious business, it is also a labor of love. You are building an intertwined series of artworks that show something about you, what you love, what catches your eye, and what evokes emotion within you. Collecting art isn’t about telling someone else’s story, it’s about sharing pieces that connect with you – and connect with each other. This may sound like a lot of work, and it is, but having a cohesive art collection is a beautiful way to display your passion for art to the world. Read More → |
|
Your Guide to Art Collecting Part 2Is This Artist or Artwork a Good Investment?Saturday, December 3, 2016Art is oft considered to be both an investment and, more often than not, something one feels deeply about. This can create a struggle between choosing which artists to select for your collection. You may love a piece, but wonder if it is worth the price. You may be weighing the best investment between favored pieces or artists since you are simply running out of room. The pointers below are here to help you work through this conflict and find the right art for your taste – and your pocketbook. Read More → |
|
|
|
Your Guide to Art Collecting Part 2 Is This Artist or Artwork a Good Investment? Saturday, December 3, 2016 Art is oft considered to be both an investment and, more often than not, something one feels deeply about. This can create a struggle between choosing which artists to select for your collection. You may love a piece, but wonder if it is worth the price. You may be weighing the best investment between favored pieces or artists since you are simply running out of room. The pointers below are here to help you work through this conflict and find the right art for your taste – and your pocketbook. Read More → |
|
Your Guide to Art Collecting Part 3How to Value My Original ArtworkFriday, December 2, 2016Art is notoriously hard to price accurately. Conditions in the current market, artist popularity, and the vagaries of public opinion all have a say when it comes to finding out how much an oil painting, print, sculpture, or any other piece of art is worth. Read More → |
|
|
|
Your Guide to Art Collecting Part 3 How to Value My Original Artwork Friday, December 2, 2016 Art is notoriously hard to price accurately. Conditions in the current market, artist popularity, and the vagaries of public opinion all have a say when it comes to finding out how much an oil painting, print, sculpture, or any other piece of art is worth. Read More → |
|
Your Guide to Art Collecting Part 4Displaying My CollectionThursday, December 1, 2016As you put your art collection together, you can run into several challenges. Here is a list of common problems, along with some fantastic solutions. Read More → |
|
|
|
Your Guide to Art Collecting Part 4 Displaying My Collection Thursday, December 1, 2016 As you put your art collection together, you can run into several challenges. Here is a list of common problems, along with some fantastic solutions. Read More → |
|
2016 Holiday Gift Guide for the Art CollectorFriday, November 25, 2016Are you looking for the quintessential Christmas present for the avid lover of art and culture? These original gift items will bring a wide smile to the face of any connoisseur of fine art. Read More → |
|
|
|
2016 Holiday Gift Guide for the Art Collector Friday, November 25, 2016 Are you looking for the quintessential Christmas present for the avid lover of art and culture? These original gift items will bring a wide smile to the face of any connoisseur of fine art. Read More → |
|
How-To: Lighting Your Fine ArtMonday, August 15, 2016Many art collectors have preferences for different types of lighting in their homes. Some prefer ambient lamp light while others would rather have spotlight-like track lights. No matter your preference, it’s important to understand that light affects each painting differently. Read More → |
|
|
|
How-To: Lighting Your Fine Art Monday, August 15, 2016 Many art collectors have preferences for different types of lighting in their homes. Some prefer ambient lamp light while others would rather have spotlight-like track lights. No matter your preference, it’s important to understand that light affects each painting differently. Read More → |
|
Building Your Art Collection: Reproductions vs. OriginalsManeuvering the Art WorldFriday, July 1, 2016There are few people in this world who are fortunate enough to fill their home with original art. Many art lovers hang original pieces as well as prints. If you have had to settle for a print, you know what I am talking about when I say you can tell the difference between an original painting and a print. Why is this? Read More → |
|
|
|
Building Your Art Collection: Reproductions vs. Originals Maneuvering the Art World Friday, July 1, 2016 There are few people in this world who are fortunate enough to fill their home with original art. Many art lovers hang original pieces as well as prints. If you have had to settle for a print, you know what I am talking about when I say you can tell the difference between an original painting and a print. Why is this? Read More → |

|
Around the Art World in 80 SecondsInternet + Art Galleries: An Art Collector’s DreamMonday, March 28, 2016Access to art online is creating a new global renaissance in art collecting. Many factors weigh in on choices, such as budget, but now anyone passionate about art may become a collector. The modern art collector leans heavily on a very important tool to complete their quest for the perfect art: Online Art Galleries. Read More → |
|
|
|
Around the Art World in 80 Seconds Internet + Art Galleries: An Art Collector’s Dream Monday, March 28, 2016 Access to art online is creating a new global renaissance in art collecting. Many factors weigh in on choices, such as budget, but now anyone passionate about art may become a collector. The modern art collector leans heavily on a very important tool to complete their quest for the perfect art: Online Art Galleries. Read More → |
|
Where to View Impressionism in Southern CaliforniaSouthern California Art Scene | Impressionism Stands StrongTuesday, February 23, 2016California is predominately known for its ultra-modern and deeply abstract artwork, which is surprising given its roots in the famed California Impressionism movement. Within the 163,696 square-miles that comprise this sprawling and diverse state are some of the nation's most important museums, galleries and art collections. Thankfully impressionism is alive and well. You just have to know where to look. Read More → |
|
|
|
Where to View Impressionism in Southern California Southern California Art Scene | Impressionism Stands Strong Tuesday, February 23, 2016 California is predominately known for its ultra-modern and deeply abstract artwork, which is surprising given its roots in the famed California Impressionism movement. Within the 163,696 square-miles that comprise this sprawling and diverse state are some of the nation's most important museums, galleries and art collections. Thankfully impressionism is alive and well. You just have to know where to look. Read More → |

|
How to Commission a PaintingCommissioning a Custom Oil PaintingThursday, May 2, 2013Do you love an artist's work but need a special painting for a certain wall in your home? Read More → |
|
|
|
How to Commission a Painting Commissioning a Custom Oil Painting Thursday, May 2, 2013 Do you love an artist's work but need a special painting for a certain wall in your home? Read More → |